Step-by-Step Tutorial for Professional-Looking Glass Etching
Introduction to Glass Etching
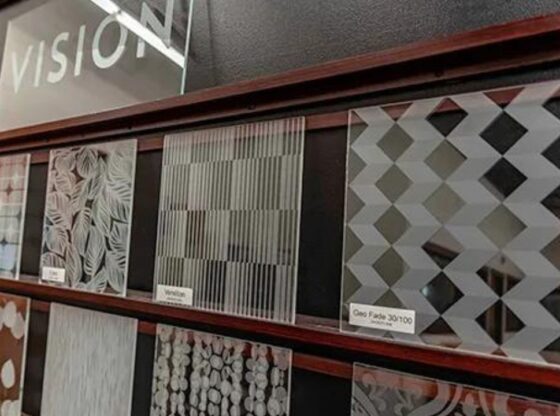
Glass etching is a craft that adds a touch of elegance and personalization to glass surfaces. By creating frosted designs or patterns, you can transform ordinary glass into a work of art. Mastering glass etching can be incredibly rewarding, whether for decorative pieces, gifts, or even professional projects. For those seeking to achieve high-quality results, consider exploring options from glass etching West Palm Beach. The expertise provided by professionals can inspire your own projects.
Materials You’ll Need
Before you begin, gather all the necessary materials. Here’s a handy checklist:
· Glass object (e.g., a glass, vase, or window)
· Adhesive vinyl or stencil material
· Etching cream
· Protective gloves and eyewear
· Craft knife or cutting machine
· Painters tape
· Soft cloth
· Rubbing alcohol
Having the right materials ensures safety and paves the way for a smoother etching process and professional results.
Preparing Your Design
Choosing Your Design
Selecting the right design is crucial. Whether using a pre-made stencil or creating your own, make sure the design complements the glass object. For those creating custom designs, craft knives or cutting machines like Cricut can help achieve detailed and precise cuts.
Applying the Stencil
Once your design is prepared, clean the glass surface thoroughly with rubbing alcohol. This removes any grease or dirt that could prevent the stencil from adhering properly. Place the stencil on the glass, ensuring there are no air bubbles. Secure the edges with painters tape to prevent the etching cream from seeping under the stencil.
The Etching Process
With your stencil securely in place, it’s time to etch:
1. Put on your protective gloves and eyewear.
2. Using a brush, apply a thick layer of etching cream over the exposed areas of the stencil. Ensure even coverage.
3. Follow the instructions on the etching cream packaging, usually letting it sit for 5-10 minutes.
4. After the time has elapsed, rinse the glass under running water. Make sure all the etching cream is washed off before removing the stencil.
5. Carefully peel off the stencil and tape, then dry the glass with a soft cloth.
Finishing Touches
Inspect the etched glass for any imperfections. A careful hand and more etching cream can often correct minor issues. For a polished look, clean the glass thoroughly, ensuring no residue is left behind. This step not only enhances the appearance but also showcases the intricacy of your design.
Caring for Your Etched Glass
Keeping your etched glass in pristine condition requires some attention:
· Regular Cleaning: Use a gentle glass cleaner and a soft cloth. Avoid abrasive materials that could scratch the design.
· Avoid Harsh Chemicals: Some cleaning agents can damage the frosted finish, so stick to mild cleaners.
· Handle with Care: Although the etching is permanent, the glass can be fragile. Store and handle with caution to prevent breakage.
With these steps, you can achieve stunning, professional-looking glass etching results. Whether for personal enjoyment or as unique gifts, etched glass makes a memorable addition to any collection.


